 Pin It
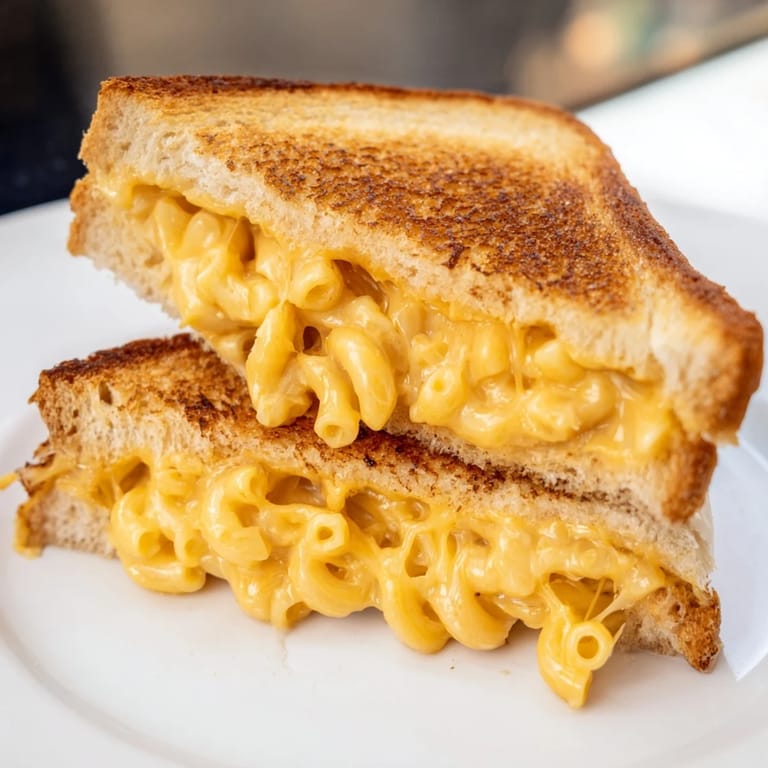
 My roommate walked into the kitchen one rainy Tuesday and said, "What if we just put mac and cheese inside a grilled cheese?" I laughed, then realized she was serious. Twenty minutes later, we were biting into something so absurdly indulgent we couldn't stop grinning. That sandwich became our go-to whenever the world felt a little too cold or complicated.
I made this for my nephew once after a long day at school, and he took one bite and declared it "the best thing ever invented." His mom wasn't thrilled about the cheese overload, but even she couldn't resist sneaking a corner. It's the kind of dish that makes people forget their diets and just enjoy the moment.
Ingredients
- Elbow macaroni: The classic shape for mac and cheese, small enough to stay put in the sandwich and cook evenly in under ten minutes.
- Sharp cheddar cheese: This is where the flavor lives, use good quality shredded cheddar because it melts beautifully and adds that tangy bite.
- Unsalted butter: You'll use it twice, once in the cheese sauce and again to crisp up the bread, controlling the salt level yourself is key.
- Whole milk: Creates a silky, rich sauce that coats every noodle, skim milk won't give you the same creamy texture.
- Sourdough or sandwich bread: Sourdough adds a slight tang that balances the richness, but any sturdy bread that can hold the filling works perfectly.
- Extra cheese slices: Optional but highly recommended, they add another gooey layer and help bind everything together as it melts.
Tired of Takeout? 🥡
Get 10 meals you can make faster than delivery arrives. Seriously.
One email. No spam. Unsubscribe anytime.
Instructions
- Cook the macaroni:
- Bring salted water to a rolling boil and add the macaroni, cooking it just until al dente so it doesn't turn mushy when you reheat it in the sandwich. Drain it well and shake out any extra water.
- Make the cheese sauce:
- Melt butter in the same pot, then stir in the drained macaroni, milk, shredded cheddar, and pepper, stirring constantly until the cheese melts into a smooth, glossy sauce. Let it cool for a few minutes so it thickens up and won't ooze out when you flip the sandwich.
- Assemble the sandwiches:
- Butter one side of each bread slice generously, then flip four slices over and pile on about a quarter cup of mac and cheese, topping with an extra cheese slice if you're feeling indulgent. Cap with the remaining bread, buttered side facing out.
- Cook the sandwiches:
- Heat your skillet over medium heat and lay the sandwiches down gently, pressing lightly with a spatula to help everything meld together. Cook for three to four minutes per side until the bread turns golden and crispy and the cheese inside is melted and gooey.
 Pin It
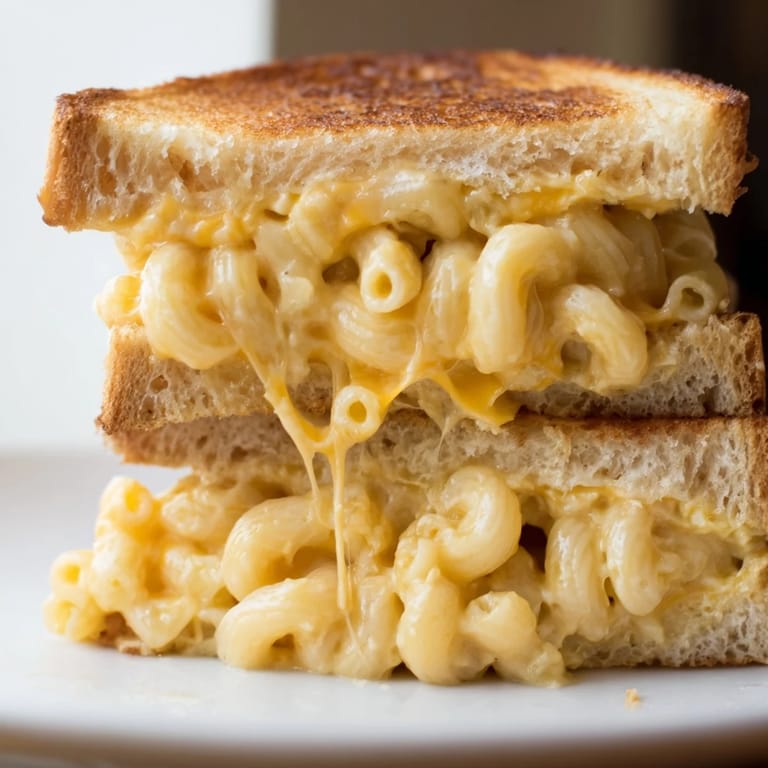
 There's something about watching someone take their first bite of this sandwich that never gets old. Their eyes widen, they pause mid-chew, and then they look at you like you've just shared a delicious secret. It's comfort food that doesn't take itself too seriously, and that's exactly why it works.
Making It Your Own
I've stirred chopped chives and crumbled bacon into the mac and cheese before, and it added a smoky, savory layer that made it feel almost fancy. A thin slice of tomato tucked inside or a dash of hot sauce on top can cut through the richness if you want a little brightness. Play around with different cheeses or breads, this recipe is forgiving and loves a little improvisation.
Serving Suggestions
Pair this with a bowl of warm tomato soup for dipping, and you've got the ultimate cozy meal. I've also served it with a simple green salad dressed with lemon vinaigrette to balance out all that cheesy goodness. It's hearty enough to stand alone, but a side of pickles or a handful of chips doesn't hurt either.
Storage and Reheating
Leftovers can be wrapped in foil and stored in the fridge for up to two days, though the bread will soften a bit. To revive them, I reheat in a skillet over low heat, covering with a lid to help the cheese melt again without burning the outside. You can also freeze the assembled, uncooked sandwiches wrapped tightly, then cook them straight from frozen over low heat, adding a few extra minutes per side.
- Store any extra mac and cheese separately and assemble sandwiches fresh for the best texture.
- Reheat in a skillet rather than the microwave to keep the bread crispy.
- If freezing, wrap each sandwich individually so you can grab just what you need.
 Pin It
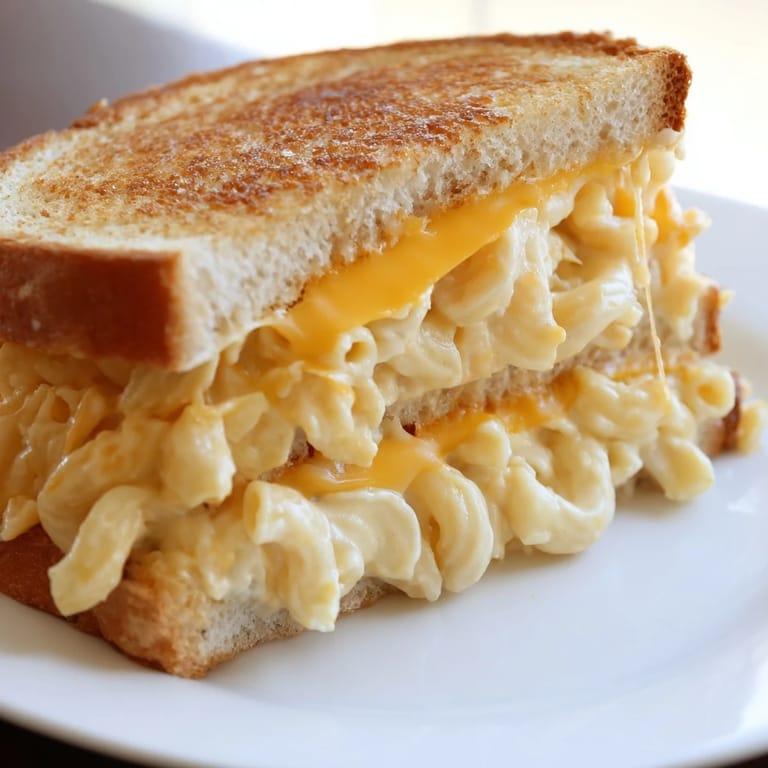
 This sandwich is proof that sometimes the best ideas come from a little bit of hunger and a lot of curiosity. Make it on a lazy weekend, share it with someone you love, and don't overthink it.
Recipe FAQs
- → Can I use store-bought macaroni and cheese?
Yes, absolutely. You can use prepared or leftover macaroni and cheese from a previous meal. This is a great way to repurpose leftovers into something new and delicious.
- → What type of bread works best?
Sourdough provides excellent flavor and structure, but sandwich bread, brioche, or Texas toast also work wonderfully. Choose bread sturdy enough to hold the filling without tearing.
- → How do I prevent the filling from leaking?
Let the macaroni and cheese cool slightly before assembling so it thickens. Mound the filling in the center and don't overstuff. Press gently with a spatula while cooking to seal the sandwich.
- → Can I add proteins to this sandwich?
Definitely. Crispy bacon, diced ham, or cooked sausage blend beautifully with the creamy cheese. Stir them directly into the macaroni and cheese before assembling.
- → What temperature should the skillet be?
Medium heat is ideal. Too high risks burning the bread before the cheese melts inside. If the exterior browns too quickly, lower the heat and cook longer per side.
- → How should I serve this sandwich?
Serve immediately while still warm and melty. Tomato soup is a classic pairing, or try it with a simple green salad for balance. Let it rest 1–2 minutes after cooking so the filling sets slightly.