Pin It
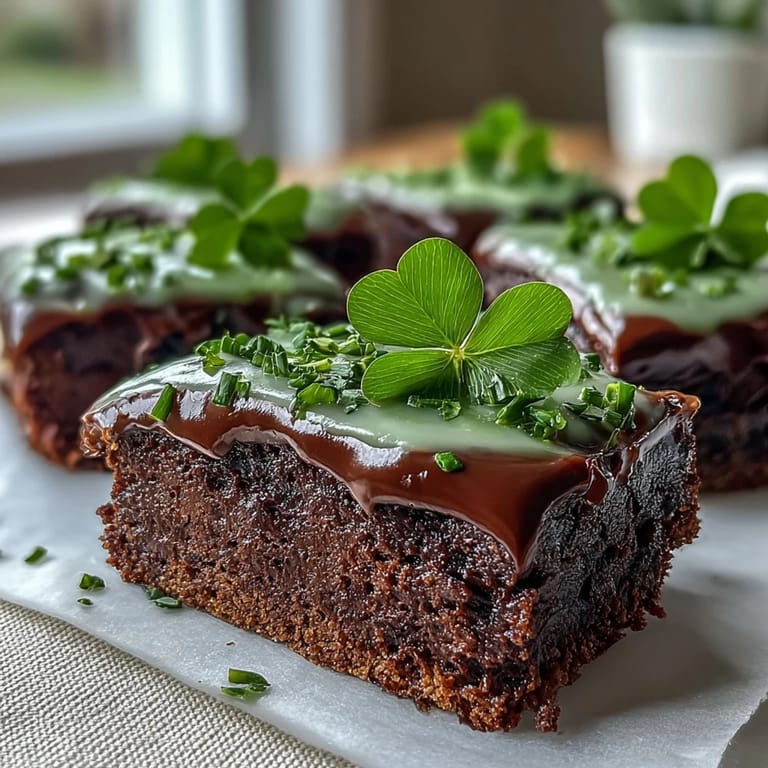
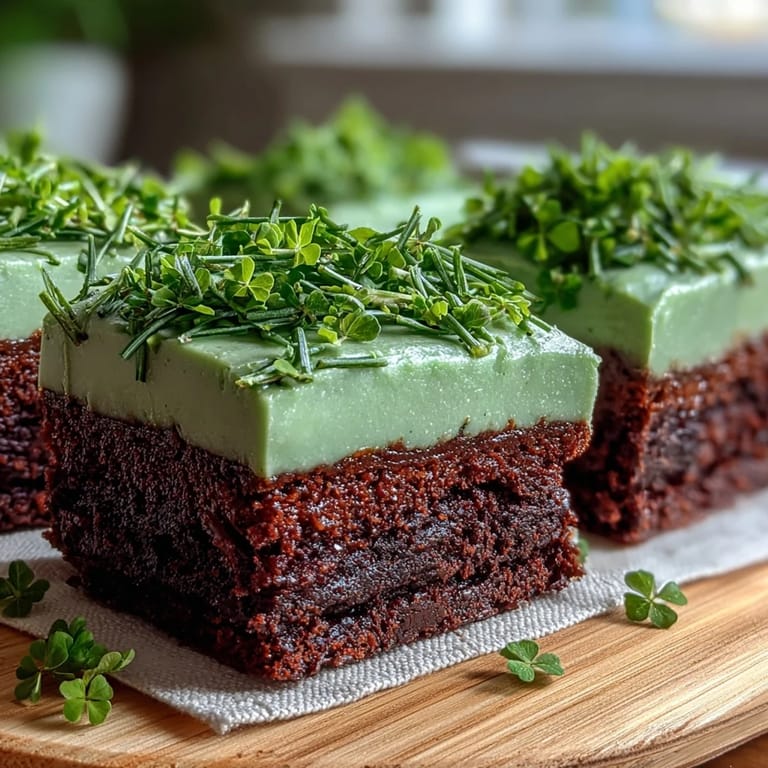
 My kitchen smelled like chocolate and anticipation the morning I decided to turn a batch of fudgy brownies into something festive. A friend had mentioned wanting to bring shamrock-shaped treats to her St. Patrick's Day gathering, and suddenly I was hunting through my drawers for that one cookie cutter I knew was buried somewhere. The real magic happened when I realized how perfectly a rich, dense brownie could hold up under creamy green icing—sturdy enough not to crack, indulgent enough to feel like celebration on a plate.
I'll never forget standing in my kitchen watching my coworker take her first bite at our office potluck. She closed her eyes like she was tasting something unexpected, then opened them and asked if I'd made them from scratch. That question—that genuine surprise—made me realize these weren't just cookies cut into shapes. They were brownies that happened to be green, and that distinction mattered.
Ingredients
- Unsalted butter: Melt it slowly and you'll notice how it transforms from solid to glossy liquid, setting the tone for a tender, fudgy crumb.
- Granulated sugar: This is where sweetness and structure come from, so don't be tempted to reduce it without reason.
- Large eggs: Room temperature eggs mix in more smoothly, which means fewer overmixed (and tough) brownies.
- Vanilla extract: Just a teaspoon deepens the chocolate flavor in a way you won't consciously notice but absolutely will miss if it's forgotten.
- Unsweetened cocoa powder: The star ingredient—choose one you'd actually enjoy tasting straight if you had to, because it really shows.
- All-purpose flour: Keep it light when measuring, spooning into your cup rather than scooping, or you'll end up with dense, cake-like results.
- Salt and baking powder: These aren't afterthoughts; salt amplifies chocolate flavor while baking powder gives just enough lift.
- Powdered sugar and softened butter: For the icing, this combination whips into something almost cloud-like when you get the ratio right.
- Milk and vanilla extract: These adjust the icing's consistency and tie its flavor back to the brownies below.
- Green food coloring: Add it drop by drop because too much turns the icing an unappetizing shade that looks more artificial than festive.
Tired of Takeout? 🥡
Get 10 meals you can make faster than delivery arrives. Seriously.
One email. No spam. Unsubscribe anytime.
Instructions
- Prepare your pan and preheat:
- Line an 8x8-inch pan with parchment, leaving overhang so you can lift the entire brownie slab out later, then heat your oven to 350°F. This setup is what transforms baking from guesswork into something you can actually control.
- Melt and mix your base:
- Over low heat, watch the butter turn from pale solid to golden liquid, then remove it and stir in sugar, eggs, and vanilla until everything looks smooth and well combined. This gentle approach prevents the eggs from cooking before they're supposed to.
- Fold in the dry ingredients:
- Add cocoa powder, flour, salt, and baking powder, then mix only until you don't see streaks of flour anymore. The moment you've achieved uniformity, stop stirring—continued mixing develops gluten and toughens your brownies.
- Bake with intention:
- Pour batter into the pan and smooth the top, then bake 25–30 minutes until a toothpick pulled from the center comes out with just a few moist crumbs clinging to it. Those crumbs are the difference between fudgy and dry; pull them out too soon and they'll bake more on the pan, pull them out too late and you've lost the good stuff.
- Cool completely:
- This step feels tedious but it's crucial—warm brownies crumble when you cut them, while cooled ones hold their shape and their structure stays intact for the icing. Patience here pays off in cleaner, better-looking shamrocks.
- Make your icing:
- Beat powdered sugar with softened butter, milk, and vanilla until the mixture turns smooth and slightly fluffy, then add green coloring one drop at a time. You can always add more color, but you can't take it out once it's mixed in.
- Cut into shamrocks:
- Use a metal shamrock cookie cutter and press straight down without twisting, lifting straight up to release. Wiping your cutter clean between cuts prevents brownie crumbs from dragging across your surfaces.
- Frost and decorate:
- Spread a generous layer of green icing over each shamrock, then add sprinkles or sanding sugar if you want them to catch the light. Let everything set for at least 30 minutes before serving so the icing firms up enough to hold its shape.
 Pin It
 There's something deeply satisfying about turning brownie scraps into something worthwhile. My family started requesting the little corners and misshapen pieces crumbled over vanilla ice cream, and what began as waste became its own beloved tradition.
Why Brownie Texture Matters on St. Patrick's Day
When you're serving festive treats, texture becomes part of the celebration. A cake-like brownie would feel light and airy but ultimately forgettable, while a fudgy brownie holds onto its chocolate intensity no matter what color you paint it. The green icing is beautiful and tasty, but it's really there to frame the rich, tender brownie underneath—and that brownie needs to deliver.
The Cookie Cutter Strategy
The first time I cut shamrocks from brownies, I didn't clean my cutter between cuts and ended up with brownie crumbs smeared across my icing. A metal cutter works better than plastic because it holds its shape under pressure, and wiping it with a damp cloth between cuts keeps everything clean. The scraps left behind aren't waste—they're little brownie bites that taste just as good as the fancy shapes.
Making Them Your Own
The base recipe is straightforward enough that you can experiment once you understand how it works. Some people stir in mini chocolate chips or chopped nuts for texture, others adjust the green food coloring intensity based on preference. The real trick is respecting the core technique while making it feel like something you invented yourself.
- Crumbled brownie scraps stirred into vanilla ice cream taste better than the carefully cut shamrocks.
- Store finished brownies in an airtight container at room temperature for up to three days, and they'll stay soft enough to enjoy.
- If you're making these ahead, frost them the day you're serving them so the icing stays vibrant and fresh-looking.
 Pin It
 These shamrock brownies taste like someone cared enough to make something both delicious and special. Serve them and watch people smile at the thought before they've even taken a bite.
Recipe FAQs
- → How do I achieve fudgy brownies?
Use the right ratio of butter to flour and avoid overbaking. Remove brownies when a toothpick shows moist crumbs.
- → What gives the green icing its color?
Green food coloring is added gradually to powdered sugar, butter, milk, and vanilla mixture until the desired shade appears.
- → Can I prepare these brownies ahead of time?
Yes, brownies can be baked and iced in advance, then stored in an airtight container at room temperature for up to 3 days.
- → What is the best way to cut brownies into shamrock shapes?
Use a sturdy shamrock cookie cutter and wipe it clean between cuts for clean edges.
- → Any tips for decorating the iced brownies?
Add green sprinkles or sanding sugar over the icing before it sets for added texture and festive appeal.