 Pin It
 The moment I decided to make a piñata cake, my kitchen turned into a mad scientist's laboratory—six bowls of pale batter lined up like a color palette, each one waiting for its splash of gel food coloring. What started as wanting to impress some friends at a Cinco de Mayo gathering became this delightful obsession with creating something that looked like pure celebration in cake form. The real magic, though, wasn't just the rainbow layers—it was watching people's faces when they cut into it and candies tumbled out like edible confetti. That's when I knew this cake needed to become part of my regular rotation.
I'll never forget assembling this cake at midnight before a Cinco de Mayo potluck, standing in my kitchen with six cooling cake layers and what felt like an impossible puzzle to solve. My partner walked in, saw the rainbow-colored rounds stacked haphazardly on every surface, and asked if I'd lost my mind—then tasted a crumb and understood completely. By the time guests arrived the next afternoon, the cake had become this beautiful centerpiece that somehow felt both elegant and playful. When the first slice was cut and everyone gasped at the cascading candies, I felt that weird flutter you get when something you imagined actually comes to life exactly as you hoped.
Ingredients
- All-purpose flour (3 cups): The foundation of a tender crumb; make sure it's fresh because stale flour won't give you the lift you need for these six distinct layers.
- Baking powder and baking soda (2 ½ tsp and ½ tsp): These work together to create that light, fluffy texture that makes each layer distinct; don't skip measuring carefully or your cake will be dense.
- Unsalted butter (1 cup for batter, 1 ½ cups for frosting): Room temperature is non-negotiable here—cold butter won't cream properly and you'll lose that airiness that makes this cake special.
- Granulated sugar (2 cups): This sweetness carries through all six layers uniformly, which is why you want to cream it thoroughly with the butter until it looks like wet sand.
- Eggs (4 large, room temperature): Cold eggs won't incorporate smoothly and can break your emulsion; I learned this the hard way when I grabbed eggs straight from the fridge once.
- Vanilla extract (2 tsp for batter, 2 tsp for frosting): Real vanilla makes all the difference in a cake this colorful because it adds warmth that the food coloring alone can't provide.
- Whole milk (1 ¼ cups for batter, ¼ cup for frosting): Room temperature milk helps maintain the batter's consistency; cold milk can seize the batter and create an uneven texture.
- Gel food coloring (red, orange, yellow, green, blue, purple): Gel coloring is essential because liquid coloring will make your batter too thin; invest in a good set because you'll want vibrant, true colors.
- Assorted small candies (1 ½ cups): This is where you get creative—use whatever makes you smile, but avoid anything too sticky or hard that might crack teeth.
- Powdered sugar (5 cups, sifted): Sifting is crucial because lumps will show in your frosting; take the thirty seconds to do this properly.
Tired of Takeout? 🥡
Get 10 meals you can make faster than delivery arrives. Seriously.
One email. No spam. Unsubscribe anytime.
Instructions
- Prepare your workspace:
- Preheat that oven to 350°F and line three 8-inch round pans with parchment paper, making sure to grease them well so nothing sticks. If you only have three pans, you'll be baking in batches, which is fine—just let them cool completely between rounds.
- Mix the dry foundation:
- Whisk your flour, baking powder, baking soda, and salt together in a medium bowl; this ensures the leavening is evenly distributed through every layer. Set it aside and don't overthink it—you're just whisking, not aerating.
- Cream butter and sugar:
- Beat the softened butter and sugar together for about three minutes until it looks pale, fluffy, and almost meringue-like; this is where the cake gets its tender crumb. You'll know it's ready when you can barely see any sugar granules.
- Add the eggs one at a time:
- Add each egg individually and beat well after each addition; this prevents the mixture from looking curdled and ensures each egg fully emulsifies. Take your time here—rushing this step is how you end up with a dense cake.
- Incorporate vanilla:
- Mix in the vanilla extract until it's completely combined and your batter smells absolutely heavenly. This is one of those moments where you pause and appreciate what's coming.
- Alternate wet and dry:
- Add the flour mixture and milk in three parts, starting and ending with flour; mix just until combined after each addition to avoid overworking the batter. This alternating method prevents the batter from becoming tough, which would ruin your delicate layers.
- Create rainbow batters:
- Divide your batter into six equal portions and tint each one with a different gel color—red, orange, yellow, green, blue, and purple. I use one bowl per color and stir with a fresh spoon each time to keep the colors true.
- Fill the pans:
- Pour each colored batter into its own prepared pan and smooth the top; if you're baking in batches, keep the extra batters at room temperature. The colors look even more vibrant when they're baking, so don't be alarmed if they seem intense.
- Bake the layers:
- Bake for 15 to 18 minutes, until a toothpick inserted in the center comes out clean; don't overbake or your cake will be dry. Every oven is different, so start checking at 15 minutes.
- Cool with patience:
- Let the layers cool in their pans for 10 minutes, then turn them out onto wire racks to cool completely; this prevents condensation from making them soggy. Rushing this step is tempting but resist—completely cool layers are easier to work with.
- Cut the cavity:
- Once cool, use a 3-inch round cutter to carefully remove the center from four of your six layers, creating a cavity for the piñata surprise; leave the top and bottom layers whole to contain the candies. This is where precision matters—you're essentially creating edible bowls.
- Make the frosting:
- Beat the softened butter until it's creamy, then gradually add the sifted powdered sugar along with the milk, vanilla, and salt; beat until it's smooth and fluffy. If it seems too thick, add a splash more milk; too thin, add more sugar.
- Assemble the layers:
- Place your bottom whole layer (purple) on a serving plate and spread a thin layer of frosting; stack the first cut-out layer on top and frost lightly. Continue this pattern, alternating cut-out and frosted layers.
- Fill with candy treasure:
- Once all cut-out layers are stacked, pour your assorted candies into the center cavity, filling it generously; this is the moment where it stops being just cake and becomes an experience. Watch it overflow slightly—that's the fun.
- Crown the cake:
- Place your final whole layer (probably blue or green depending on your color order) on top, creating a sealed surprise inside. Press down gently so it settles on the candies.
- Frost the exterior:
- Apply a generous layer of frosting to the outside and top of the entire cake, using an offset spatula to smooth it out; this is your chance to make it as neat or as playful as you want. If you want to add colored frosting swirls or extra sprinkles, now's the time.
- Chill before serving:
- Refrigerate the finished cake for at least 30 minutes before slicing; this helps the layers set and makes cutting cleaner. When you slice, the candies will tumble out like magic.
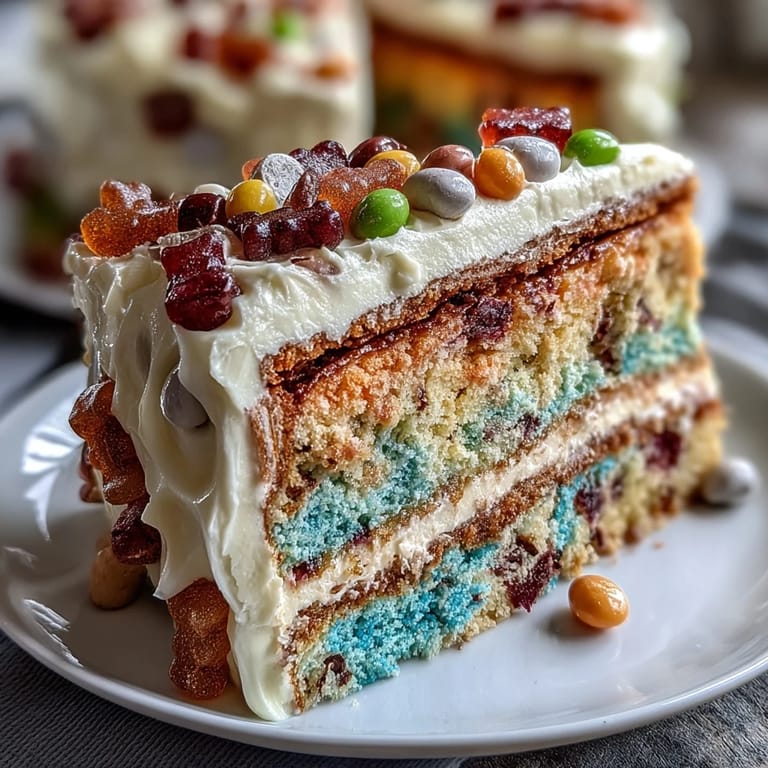 Pin It
 There's something almost ceremonial about slicing into a piñata cake for the first time at a party, watching everyone lean in to see the surprise inside. That moment when the knife hits those candies and they scatter across the plate while guests gasp—that's pure, uncomplicated joy, and it's absolutely worth every step of the process.
Why Color Matters More Than You Think
The first time I made this cake, I used liquid food coloring instead of gel and the resulting cake was somehow both pale and oddly flavored, like the coloring had diluted something essential in the batter. I switched to gel the second time and the difference was night and day—the colors were vivid and true, and the texture remained perfectly tender. Now I keep gel coloring in multiple shades on hand because there's nothing worse than getting halfway through a rainbow cake and realizing your colors look muddy instead of vibrant. The investment in good coloring is small compared to the disappointment of a cake that doesn't look as magical as it tastes.
The Frosting Makes the Difference
I've made this cake with store-bought frosting once when I was running behind, and while it was still delicious, something was missing—the frosting felt thin and one-dimensional compared to homemade. The difference between whipping your own butter and sugar versus opening a tub is that your homemade version is fluffy and holds peaks, which makes spreading easier and the final cake look more professional. When I returned to making it from scratch the next time, I remembered why this extra step matters: homemade frosting is more stable, tastes richer, and gives you room to add your own flavors or colors. It's really the difference between a good cake and one that feels truly special.
Assembly Secrets and Timing
The real trick to nailing the assembly is making sure every layer is completely cool before you start stacking; warm cake is fragile and will crumble under the weight of other layers. I've found it's actually easier to make this cake a day ahead—bake the layers, let them cool overnight, and then assemble the next day when everything is stable and you're not rushed. The flavors actually get better overnight too, as the cake has time to settle and absorb its own moisture. One last thing that surprised me: the cake is actually easier to slice and serves more cleanly when it's been chilled after assembly, so plan for that final refrigeration time.
- Always use a hot, wet knife for slicing and wipe it clean between cuts to prevent frosting buildup that makes slices messy.
- If the cake starts to lean while assembling, don't panic—a few toothpicks inserted vertically through the layers will stabilize it until the frosting sets.
- Serve this cake at room temperature for the best flavor, but keep it chilled until serving to make it easier to handle and slice.
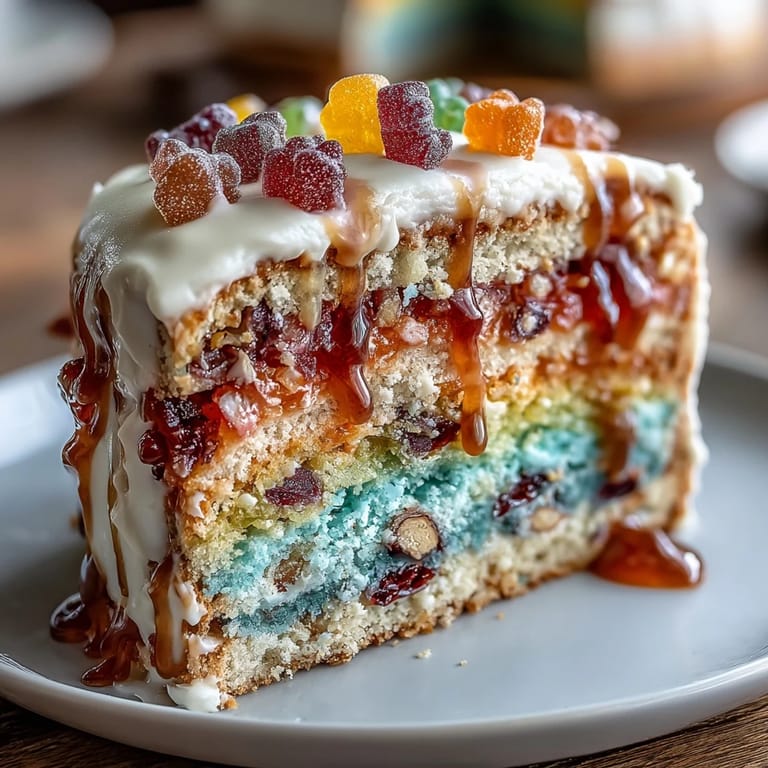 Pin It
 This cake has become my go-to celebration dessert because it combines showmanship with genuine deliciousness, and it proves that the most memorable foods are often the ones that surprise us. Make it once and you'll understand why it's so much more than just cake.
Recipe FAQs
- → How do I create the colorful layers?
Divide the batter evenly and tint each portion with gel food coloring in red, orange, yellow, green, blue, and purple before baking.
- → What candies work best for the piñata center?
Small candies like mini M&Ms, rainbow sprinkles, and gummy bears fit well and avoid mess when slicing.
- → Can I prepare this cake ahead of time?
Yes, chilling the assembled cake for at least 30 minutes helps with cleaner slicing and enhances flavors.
- → Are there gluten-free options for the cake layers?
Gluten-free flour blends can replace all-purpose flour in equal amounts for a suitable alternative.
- → How can I decorate the cake for extra festivity?
Use colored frosting, sprinkles, or themed decorations to enhance the vibrant, celebratory look of the cake.