 Pin It
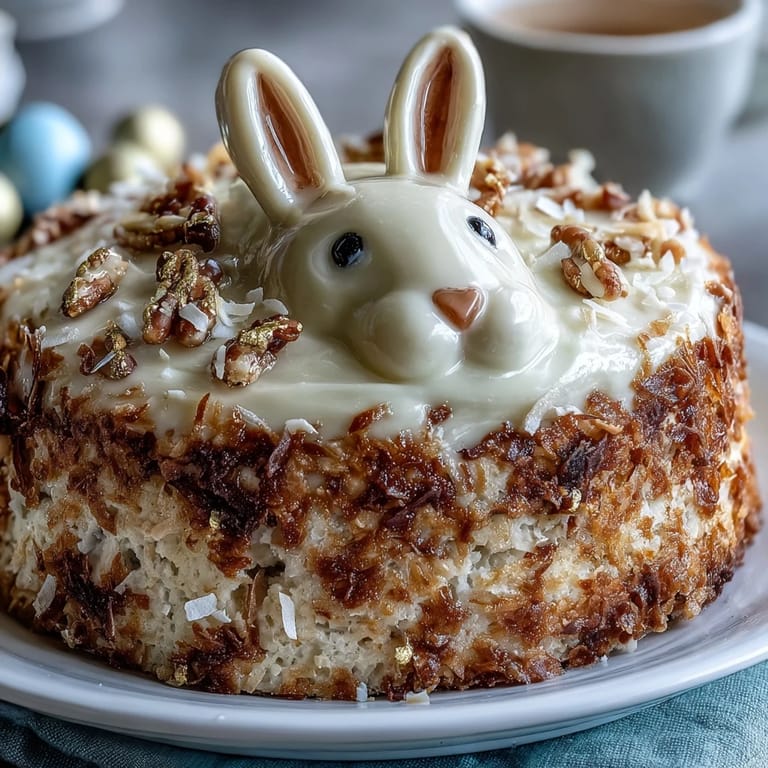
 My sister called me in a panic two days before Easter, asking if I could bake something special for our family gathering. She wanted whimsy, she wanted sparkle, and honestly, she wanted me to save the day. That's when I remembered a bunny-shaped cake I'd seen years ago in a magazine clipping, gathering dust in my recipe folder. I dusted it off, added gold sprinkles because why not go big, and suddenly I was committed to making edible magic happen.
That Easter morning, I was piping buttercream at 7 a.m., half-asleep, when my nephew wandered into the kitchen and gasped like he'd walked into a fairy tale. He started narrating everything I was doing in a hushed, reverent tone—'And now she places the marshmallow cheeks'—which made me laugh so hard I nearly dropped the whole thing. When we finally brought it to the table, everyone went quiet for a moment before someone said, 'Did you really make this?' Yes, I did, and I was equally shocked.
Ingredients
- All-purpose flour (2 ½ cups): The foundation of a tender crumb; make sure it's fresh and fluffed in the bag before measuring.
- Baking powder (2 ½ tsp): This is your lift and rise, so don't skip it or substitute old baking powder that's been sitting open for two years.
- Salt (½ tsp): A tiny pinch that makes the vanilla sing and balances all that sugar.
- Unsalted butter (1 cup softened): Room temperature is non-negotiable here; cold butter won't cream properly and you'll end up with dense cake.
- Granulated sugar (2 cups): This creams with the butter to trap air bubbles, creating that light, fluffy texture.
- Large eggs (4, room temperature): They blend smoothly into the batter and help bind everything together.
- Pure vanilla extract (1 tbsp): The real stuff, not imitation; it makes an actual difference in how sophisticated the cake tastes.
- Whole milk (1 cup): Alternating with flour keeps the batter from becoming overworked and tough.
- Unsalted butter for frosting (1 cup): Same reasoning as the cake; you need soft, creamy butter for fluffy buttercream.
- Powdered sugar (4 cups, sifted): Sifting prevents lumps and ensures smooth, cloud-like frosting.
- Whole milk for frosting (2-3 tbsp): Adjust based on humidity; you want thick but spreadable consistency.
- Pure vanilla extract for frosting (1 tbsp): Adds flavor depth to the buttercream so it doesn't taste like pure sugar.
- Salt (pinch): Cuts through sweetness and enhances flavor.
- Sweetened shredded coconut (1 cup): This becomes the bunny's fluffy fur and honestly looks more impressive than it sounds.
- Pink gel food coloring: Gel holds its color better than liquid and won't thin out your frosting.
- Large marshmallows (2): These flatten slightly under a little pressure and make perfect rosy cheeks.
- Mini marshmallows (2): Tiny teeth that add personality to your bunny's smile.
- Black licorice laces or black gel icing: Creates whiskers and eyes; licorice laces are easier to position and look charming.
- Gold sprinkles (for finishing): The magic dust that makes this cake feel celebratory and special.
Tired of Takeout? 🥡
Get 10 meals you can make faster than delivery arrives. Seriously.
One email. No spam. Unsubscribe anytime.
Instructions
- Get Your Oven Ready:
- Preheat to 350°F while you gather everything, and grease those two 9-inch cake pans generously with butter or cooking spray. A light flour coating keeps the cake from sticking to every corner.
- Mix the Dry Ingredients:
- Whisk flour, baking powder, and salt together in a medium bowl; this distributes the leavening evenly so you don't get random dense pockets. Set it aside and don't overthink this step.
- Cream the Butter and Sugar:
- Beat softened butter and sugar together for 3 to 4 minutes until it looks pale, fluffy, and almost like frosting itself. This aerating step is what makes the cake light and tender, so don't rush it.
- Add Eggs One by One:
- Drop in each egg and beat well after each addition before moving to the next. This gradual incorporation ensures the eggs emulsify properly instead of curdling the batter.
- Mix in the Vanilla:
- Pour in that vanilla extract and mix until combined. This is where your cake starts smelling like something worth eating.
- Alternate Wet and Dry:
- Pour in one-third of the flour mixture, then half the milk, then another third of flour, then the remaining milk, then the final flour portion. Start and end with flour so the batter stays stable, and mix just until combined each time; overworking develops gluten and toughens the cake.
- Divide and Bake:
- Pour batter evenly into both prepared pans and bake for 30 to 35 minutes until a toothpick inserted in the center comes out clean. Your kitchen will smell incredible, and you'll be tempted to peek; resist that urge because opening the oven too early lets heat escape.
- Cool Strategically:
- Leave cakes in the pans for 10 minutes so they set slightly, then turn them out onto wire racks to cool completely. This prevents them from cracking or collapsing.
- Make the Buttercream:
- Beat softened butter until creamy and pale, then gradually add sifted powdered sugar a cup at a time so you don't create a powdered sugar dust storm. Add milk, vanilla, and salt, then beat until fluffy and spreadable.
- Build Your Bunny Shape:
- Place one cake round as the face, cut two ovals from the second cake for ears, and use leftover pieces for a bowtie, arranging everything on your platter. This is the fun part where you get to be creative and there's really no wrong way to do it.
- Apply a Crumb Coat:
- Spread a thin layer of buttercream all over the bunny shape, then chill for 20 minutes to seal in any crumbs. This prevents crumbs from ruining your final frosting layer.
- Frost Generously:
- Apply a thick, even final layer of buttercream, using an offset spatula to smooth it out as much or as little as you like. Slight imperfections actually look more charming and homemade.
- Add the Fur:
- Press shredded coconut onto all the frosted surfaces while the buttercream is still soft enough to hold it. Work in sections so the frosting doesn't dry out before you finish.
- Tint Coconut for Details:
- Mix a small amount of coconut with pink gel coloring for the inner ears and nose, pressing these pieces into place where they look right to you. There's no exact placement required; trust your instincts.
- Add the Face:
- Position marshmallows for cheeks and teeth, then use black licorice laces or gel icing to create whiskers and eyes. Step back frequently to see how it's looking from a distance.
- Finish with Sparkle:
- Sprinkle gold sprinkles over the entire bunny just before serving so they catch the light and make everyone gasp a little. This is the moment it transforms from cake to celebration.
 Pin It
 Later that evening, after everyone had eaten a slice and the bunny cake had been photographed from every angle, my sister hugged me in the kitchen and whispered that this was the kind of thing she'd remember. That's when it hit me that baking isn't just about feeding people; it's about showing up and making moments feel a little more magical. This bunny cake became proof that sometimes the most memorable meals are the ones made with a little extra sparkle and a whole lot of heart.
How to Make This Cake Ahead
I've learned that this bunny cake is actually forgiving about timing, which makes it perfect for stressed bakers. You can bake the cake layers up to two days in advance and store them wrapped tightly at room temperature or in the refrigerator, then frost and decorate on the day of your celebration. The buttercream can also be made a full day ahead and kept in the fridge, then brought to room temperature and re-beaten for 30 seconds before frosting. This flexibility means you can break the project into manageable chunks instead of pulling an all-nighter before Easter morning.
Decorating Like You're Not Afraid
The beauty of this bunny is that it doesn't require steady hands or years of cake decorating experience, which is honestly why I love it. I once accidentally placed the marshmallow cheeks uneven and decided it made the bunny look surprised and adorable instead of broken. The coconut fur hides imperfections, the licorice creates character, and the gold sprinkles are basically visual permission to stop worrying about perfection. Your bunny will be gorgeous because it's made with intention, not because it looks like it came from a professional bakery.
Flavor Riffs and Variations
Once you've made this vanilla version, you might start thinking about experiments, which is when baking becomes really fun. For chocolate lovers, swap out half a cup of flour with unsweetened cocoa powder and watch the cake become richer and more indulgent while still maintaining that tender crumb. You could also make the buttercream with almond extract instead of vanilla, or swirl in a tablespoon of espresso powder to add complexity without making it taste like coffee. The bunny shape works with any flavor combination you love, so don't be afraid to make it your own.
- Use edible gold leaf or gold dust instead of sprinkles for an even more luxe appearance if you're feeling fancy.
- Add lemon zest to the batter and use a tablespoon of fresh lemon juice in the frosting for a bright spring twist.
- Store leftovers covered at room temperature for up to 2 days, or refrigerated for up to 5 days if you somehow have leftovers.
 Pin It
 This Sparkle Easter Bunny Cake is proof that you don't need to be a professional baker to create something that makes people smile before they even take a bite. It's the kind of dessert that becomes part of family lore, retold every Easter with small exaggerations about how amazing it was.
Recipe FAQs
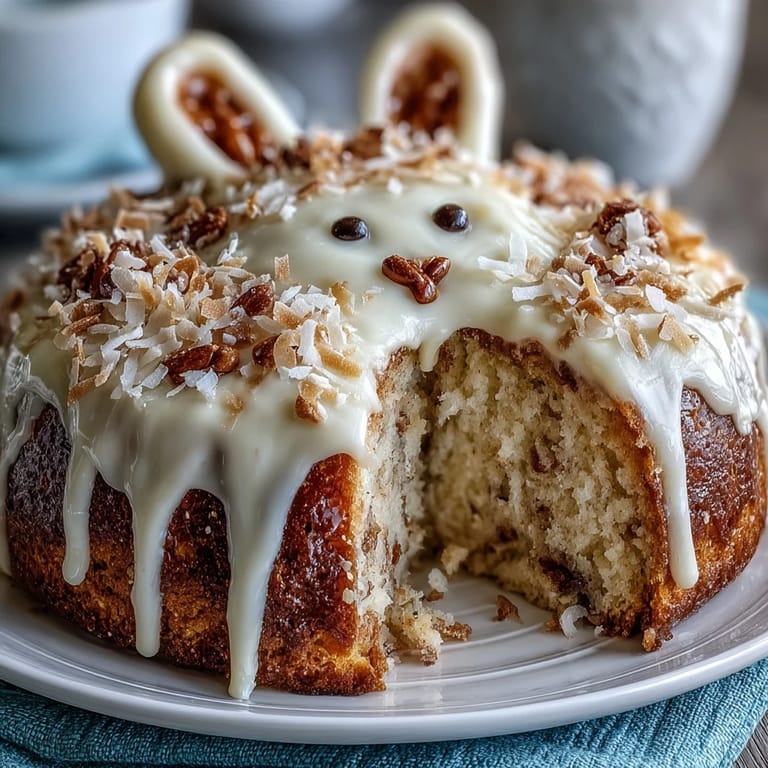
- → How is the bunny shape created?
The cake is made using two 9-inch rounds; one serves as the face, while the second is cut into ovals for ears and a bowtie, then arranged on a platter.
- → What gives the cake its fur texture?
Sweetened shredded coconut is pressed onto the buttercream frosting to replicate the bunny's fluffy fur.
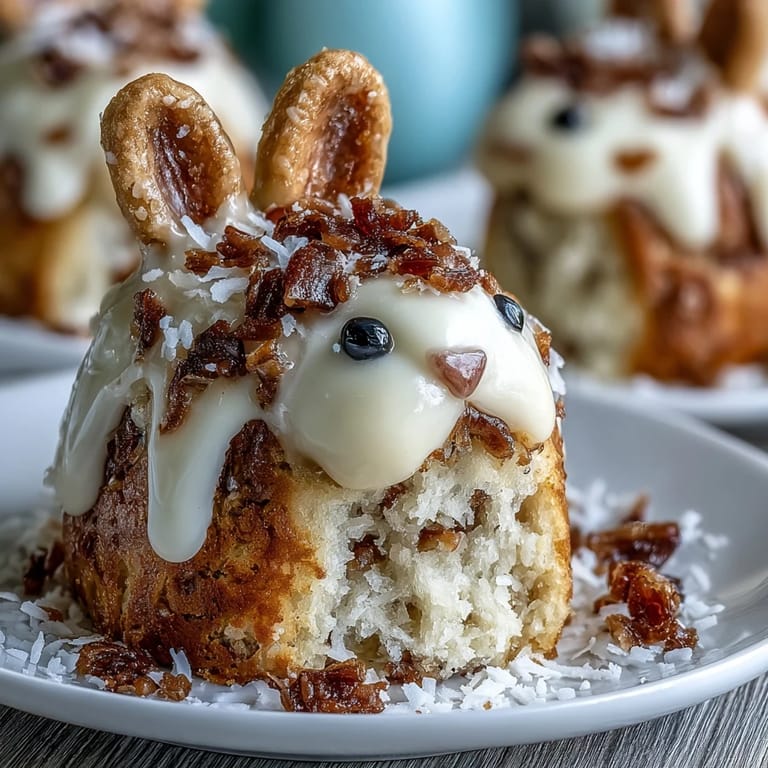
- → How are the ears and nose colored pink?
A small portion of shredded coconut is tinted with pink gel food coloring and placed to form the inner ears and nose details.
- → What ingredients are used in the buttercream frosting?
The buttercream combines softened unsalted butter, powdered sugar, milk, vanilla extract, and a pinch of salt for a smooth, fluffy finish.
- → Can this cake be stored safely?
Store covered at room temperature up to 2 days, or refrigerate for up to 5 days, ensuring freshness and flavor retention.
- → Are there alternatives for adding shimmer apart from gold sprinkles?
Yes, edible gold leaf or gold dust can be used for an extra sparkling effect.