 Pin It
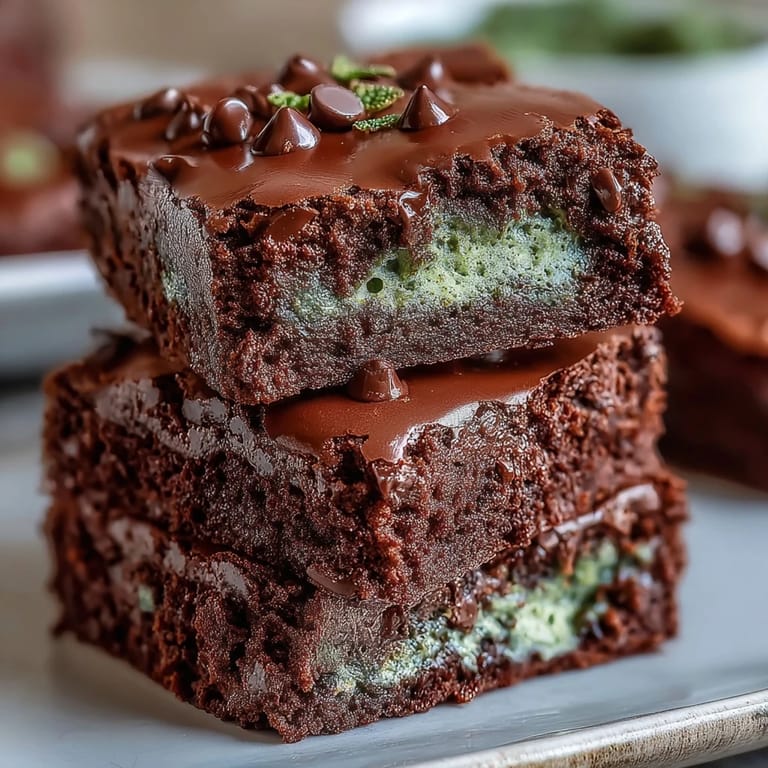
 My coworker Sarah brought these to the office last March, and I watched people hover around the plate like they were made of gold. The moment I bit into one, the cool peppermint hit first, then the fudgy chocolate followed, and suddenly I understood why she'd been mysteriously baking the night before. That afternoon, I went home and made my own batch, except I got a little overzealous with the green food coloring and ended up with something that looked like a leprechaun sneezed on them. They still tasted incredible, though.
I made these for a St. Patrick's Day potluck at my neighbor's place, and honestly, they disappeared within twenty minutes while her famous soda bread lasted all evening. One guest asked for the recipe before even finishing hers, which felt like winning some kind of dessert lottery. That's when I realized these weren't just cute little bites—they were the kind of thing people actually want to come back for.
Ingredients
- All-purpose flour: Three-quarters cup gives you structure without making them cake-like, which is the whole point of a proper brownie.
- Unsweetened cocoa powder: Half a cup is your chocolate foundation—don't skip sifting it or you'll get lumps that feel gritty.
- Baking powder: Just a half teaspoon keeps them tender and prevents that dense brick situation.
- Salt: A quarter teaspoon seems tiny, but it makes the chocolate sing.
- Unsalted butter: Half a cup melted and cooled slightly is crucial—add hot butter and you'll scramble your eggs.
- Granulated sugar: One cup sweetens them properly without that overpowering cake taste.
- Large eggs: Two eggs at room temperature mix more smoothly and give better texture.
- Vanilla extract: Half a teaspoon rounds out the chocolate flavor.
- Peppermint extract: Half a teaspoon is the magic amount—it flavors without screaming at you.
- Green food coloring: Two to three drops are entirely optional, but they look festive and people love that detail.
- Mini chocolate chips: Half a cup plus more for topping—I learned to slightly reserve some for the top because they add visual appeal and extra chocolate pockets.
- Andes mints or mint chocolate pieces: A quarter cup chopped adds texture and intensifies the mint experience, though you can absolutely skip them for purists.
Tired of Takeout? 🥡
Get 10 meals you can make faster than delivery arrives. Seriously.
One email. No spam. Unsubscribe anytime.
Instructions
- Prep your station:
- Preheat your oven to 350°F and either grease your mini muffin tin with butter or slip in those little paper liners—the liners make life easier when you're popping them out later. I learned this the hard way after my first batch stuck like they'd been glued in.
- Combine the dry team:
- Whisk together your flour, cocoa powder, baking powder, and salt in a medium bowl, making sure there are no cocoa lumps hiding at the bottom. This takes maybe two minutes and saves you from grainy texture disasters.
- Build the wet mixture:
- In a larger bowl, whisk your slightly cooled melted butter with sugar until it's pale and fluffy-looking, then add your eggs one at a time while whisking gently. Pour in both extracts and your food coloring if you're using it, and keep whisking until everything looks smooth and consistent.
- Fold it all together:
- This is where patience matters—gently fold the dry ingredients into the wet mixture using a spatula, stopping as soon as you don't see white flour streaks anymore. Overmixing makes them tough, and nobody wants tough brownies.
- Add the chocolate love:
- Stir in your mini chocolate chips and chopped mint pieces until they're distributed throughout the batter. Taste isn't necessary, but I won't judge if you sneak a tiny spoonful.
- Fill and top:
- Spoon batter into your prepared tin until each cup is about three-quarters full, then sprinkle a few extra chocolate chips on top of each one for that golden touch. The extra chips will slightly sink in and create little chocolate pockets.
- Bake with confidence:
- Slide them into the oven for thirteen to fifteen minutes—you're looking for a toothpick that comes out mostly clean but with a few moist crumbs clinging to it. This is intentional; it means they'll stay fudgy after they cool.
- Cool gracefully:
- Leave them in the tin for five minutes so they set enough to move, then transfer them to a wire rack to cool completely. They'll firm up as they sit and taste even better after an hour.
 Pin It
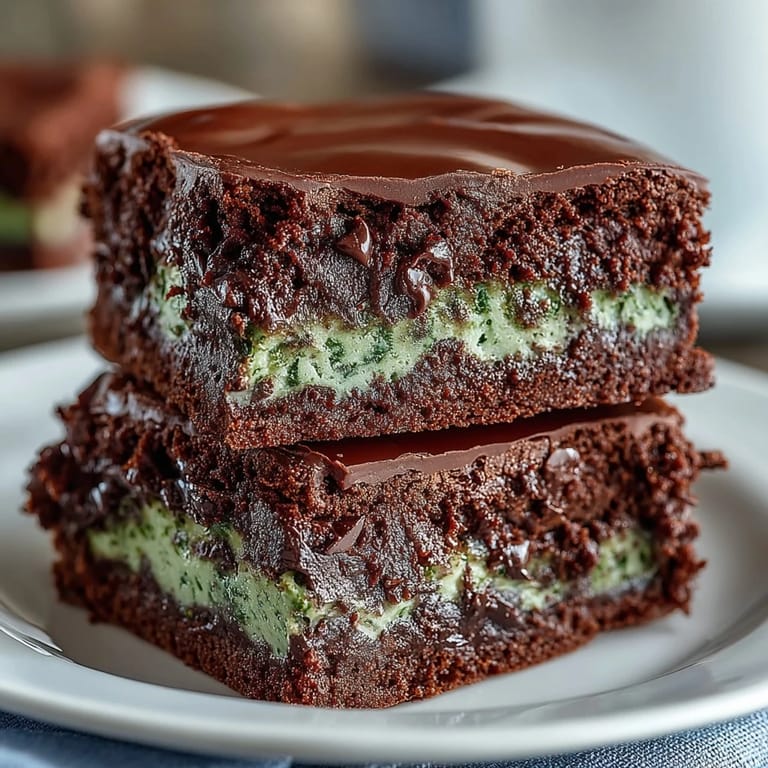
 There's something about handing someone a tiny perfect brownie and watching their face light up when they taste the mint-chocolate combo. My friend Tom actually put his phone down mid-conversation to ask if I'd made them myself, and when I said yes, he looked at me like I'd just announced I'd learned to make pasta from scratch. It's one of those rare recipes where the effort feels invisible and the result feels like magic.
The Peppermint-Chocolate Harmony
The reason this pairing works so beautifully is that peppermint cuts through chocolate richness while the chocolate grounds the peppermint so it doesn't taste medicinal. I used to think mint and chocolate was a gimmick until I realized it's actually one of the most natural flavor combinations—think of how good thin mints are, or those fancy chocolate shops with the mint ganache. These little bites capture that same elegance without needing a fancy pastry kitchen behind them.
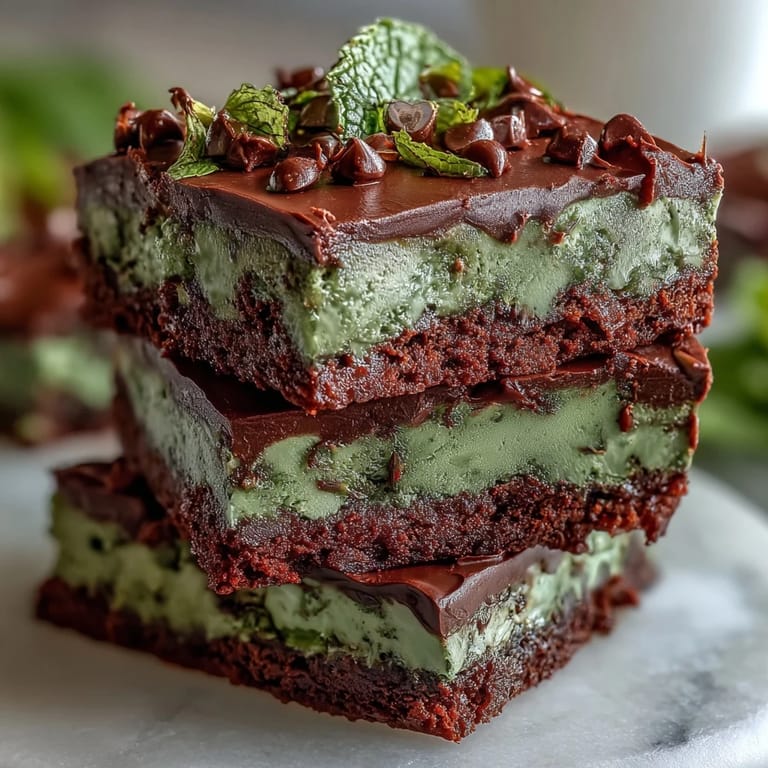
Making Them Festive
The green food coloring is optional, but it transforms these from generic brownies into something that announces St. Patrick's Day the moment someone opens the container. I've made them without the coloring for spring parties and they looked like regular chocolate bites, which is fine but less memorable. If you want that festive pop, just two or three drops is enough—more than that and you risk that artificial green cake mix look that isn't quite as charming.
Storage and Keeping Them Fresh
These keep beautifully in an airtight container for up to five days, which means you can make them in advance if you're bringing them somewhere. I've learned that they actually taste slightly better the next day once the flavors have settled together, so don't stress if you bake them a day early. They'll stay fudgy on the inside as long as they're sealed up and away from air, which is basically the opposite of what happens if you leave them uncovered.
- Store them in a container with parchment between layers to prevent them from sticking together.
- Keep them at room temperature rather than the fridge, which dries them out faster than you'd expect.
- If you make a double batch, the second batch freezes beautifully for up to three months in a freezer-safe container.
 Pin It
 These little brownie bites have become my answer to the question of what to bring to spring parties, especially anything remotely close to St. Patrick's Day. They're the kind of recipe that makes people believe you're more skilled in the kitchen than you actually are.
Recipe FAQs
- → Can I use regular chocolate instead of mini chips?
Yes, chopping regular chocolate into small pieces works well as a substitute for mini chocolate chips.
- → How can I enhance the mint flavor without overpowering?
Slightly increasing peppermint extract helps intensify the mint taste while maintaining balance with the chocolate.
- → Is it necessary to add green food coloring?
Green food coloring is optional and used mainly for a festive look; it does not affect the flavor.
- → What is the best way to store these bites?
Store in an airtight container at room temperature for up to five days to maintain freshness.
- → Can I substitute Andes mints with other mint chocolates?
Yes, Andes mints can be replaced by any mint-flavored chocolate pieces or omitted entirely for a classic chocolate taste.