 Pin It
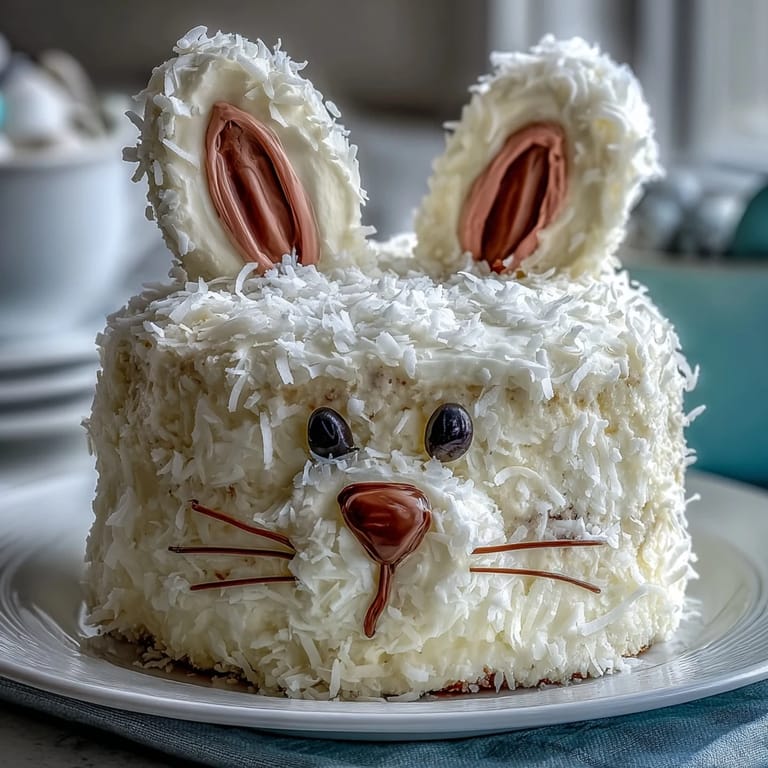
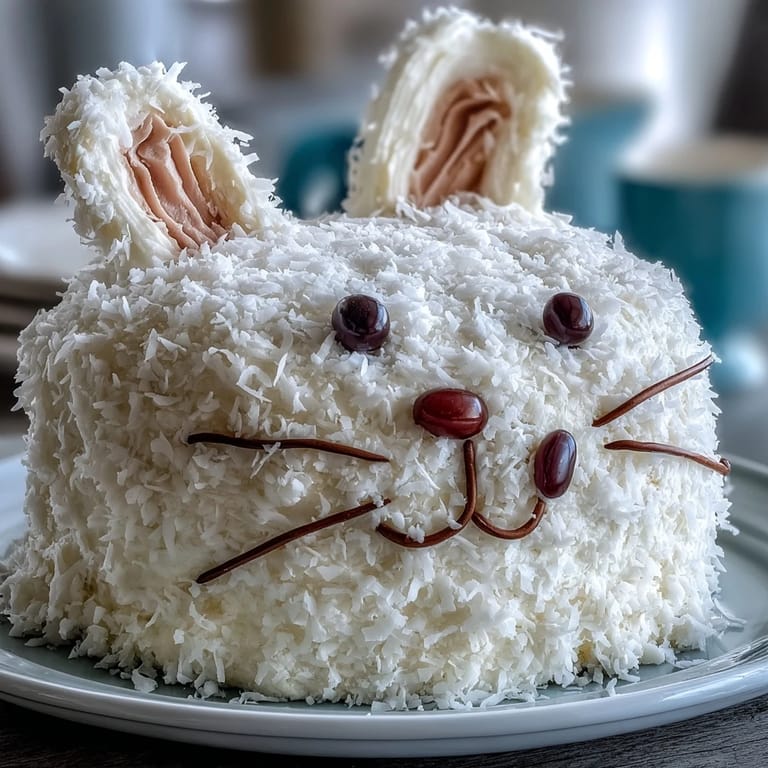
 My daughter spotted this Easter Bunny Cake on a bakery window display and pressed her nose against the glass, absolutely mesmerized by the coconut fur and candy eyes staring back at her. That afternoon, we decided to make one together, and what started as a kitchen project turned into the kind of memory where flour dusted her hair and frosting ended up everywhere except where it was supposed to be. The cake came together beautifully despite our chaos, and when we finally assembled that silly bunny face on a big wooden board, she laughed so hard she could barely hold the licorice whiskers steady. This recipe became our Easter tradition, the one dessert she now requests months in advance.
I'll never forget watching my neighbor peer into our kitchen window during the frosting stage, drawn in by the smell of vanilla and toasting coconut. She lingered just long enough to see us pressing that fluffy coconut into the frosting, and by the time we finished, she was standing in our doorway with her three kids, all of them wide-eyed at this whimsical bunny taking shape on our countertop. We ended up slicing it together right there, and that's when this cake stopped being just dessert and became the reason an entire block of neighbors still asks me to make it every spring.
Ingredients
- All-purpose flour: Keep it at room temperature and measure by scooping and leveling, not packing, so your cake stays tender instead of dense and heavy.
- Baking powder: This is what gives you those fluffy layers that practically melt in your mouth, so make sure it's fresh and not sitting in your cabinet from last year.
- Unsalted butter: Softened means it should feel like putty when you press it, not melted or still cold, because this is where the creaminess begins.
- Granulated sugar: Beat this with the butter longer than you think you need to, until it looks almost pale and fluffy like clouds.
- Large eggs: Room temperature eggs mix in more smoothly and create a lighter crumb than cold ones straight from the fridge.
- Pure vanilla extract: The real stuff, not imitation, makes a noticeable difference in how the cake tastes when everything else is said and done.
- Whole milk: It creates the perfect moisture balance when alternated with flour, keeping the cake from becoming either dry or too dense.
- Powdered sugar: Sift it before using, even if it seems tedious, because lumps in frosting will show when you try to spread it smoothly.
- Sweetened shredded coconut: This transforms the frosting into something fluffy and textured that looks like an actual fuzzy bunny.
- Jelly beans and candy decorations: Pick them out before serving if you're worried about choking, and always check for allergen information on the packaging.
- Licorice strings: They're thin enough to drape like whiskers but sturdy enough not to disappear into the frosting.
- Mini marshmallows: Toast a few lightly if you want them to hold their shape better against the soft frosting.
Tired of Takeout? 🥡
Get 10 meals you can make faster than delivery arrives. Seriously.
One email. No spam. Unsubscribe anytime.
Instructions
- Set your stage:
- Preheat the oven to 350°F and grease those round cake pans generously, then dust them with flour so the cake doesn't stick to the sides. Have all your ingredients sitting out and ready because once you start mixing, you'll want to move smoothly without hunting for things.
- Build the dry mix:
- Whisk flour, baking powder, and salt together in one bowl, making sure there are no little pockets of baking powder hiding anywhere. This step ensures everything rises evenly when the cakes bake.
- Create the base:
- Beat softened butter and sugar together for a solid three minutes until it looks almost pale and fluffy, like you're creating tiny air pockets that will make the cake light and tender. You'll hear the mixer change sound when it's ready, becoming almost whispery instead of grinding.
- Add eggs with care:
- Drop in eggs one at a time and beat well after each one, so they emulsify into the butter mixture instead of sitting on top like little islands. The mixture should look smooth and glossy, not broken or curdled.
- Alternate your wet and dry:
- Start with flour, then milk, then flour again, ending with flour, and mix only until you can't see streaks of white anymore. Overmixing at this point makes tough cake, so stop as soon as everything comes together.
- Divide and bake:
- Pour batter evenly between pans and smooth the tops, then slide them into the oven and set a timer for 30-35 minutes. A toothpick inserted in the center should come out clean, maybe with a crumb or two clinging to it.
- Cool with patience:
- Let cakes rest in their pans for ten minutes before turning them out onto wire racks, because pulling them out too early will cause them to crack. Once on the racks, let them cool completely before frosting, or the frosting will melt off.
- Whip the frosting:
- Beat softened butter until it's creamy, then gradually add powdered sugar a little at a time so it doesn't puff into a white cloud all over your kitchen. Add milk and vanilla, then keep beating until it looks fluffy and light enough to spread smoothly.
- Tint for detail:
- Scoop out about half a cup of frosting into a separate bowl and add just a tiny drop of pink food coloring at first, stirring and adding more until you get the shade you want. A little goes a long way with food coloring, so patience here prevents bright bubblegum pink if that's not your style.
- Shape the bunny:
- Cut one round cake into two ear shapes and one bow tie piece by using a serrated knife and a template or pattern as your guide. Arrange the full round as the face with ears positioned above and the bow tie below on a large board or platter.
- Apply the crumb coat:
- Spread a thin layer of white frosting all over the bunny shape, then chill it for 15 minutes so the crumbs stay in place and don't get pulled up by the next layer. This extra step is what separates a sloppy-looking cake from a polished one.
- Frost and coconut:
- Apply generous frosting over everything, then immediately press shredded coconut onto every surface while the frosting is still soft and tacky. Work in sections if needed so the frosting doesn't dry before you get coconut pressed in.
- Add personality:
- Use pink frosting to fill the inner ears and create a nose, then arrange jelly beans for eyes, licorice strings for whiskers, and marshmallows for cheeks and a tail. Step back and admire what you've created before anyone starts sneaking tastes.
 Pin It
 My son, who usually refuses homemade desserts in favor of store-bought candy, actually stopped in his tracks when he saw this bunny wearing a frosting bow tie and marshmallow cheeks. He asked to help decorate it, and suddenly he was carefully placing licorice whiskers and strategizing the best spot for the jelly bean eyes, treating it like he was assembling something precious. That's the moment I understood this cake had become something bigger than just a recipe on a page, it was a reason to slow down and do something together that actually mattered.
The Magic of Room Temperature Ingredients
I learned this lesson the hard way when I grabbed cold eggs straight from the fridge because I was rushed, and the batter ended up looking separated and grainy instead of smooth and creamy. The cake that came out was noticeably denser and less tender than usual, a small disaster that could have been completely avoided by letting eggs and butter sit on the counter for thirty minutes. Now I set everything out first and make my coffee while they warm up, turning what seems like a delay into a moment to actually prepare myself mentally before baking.
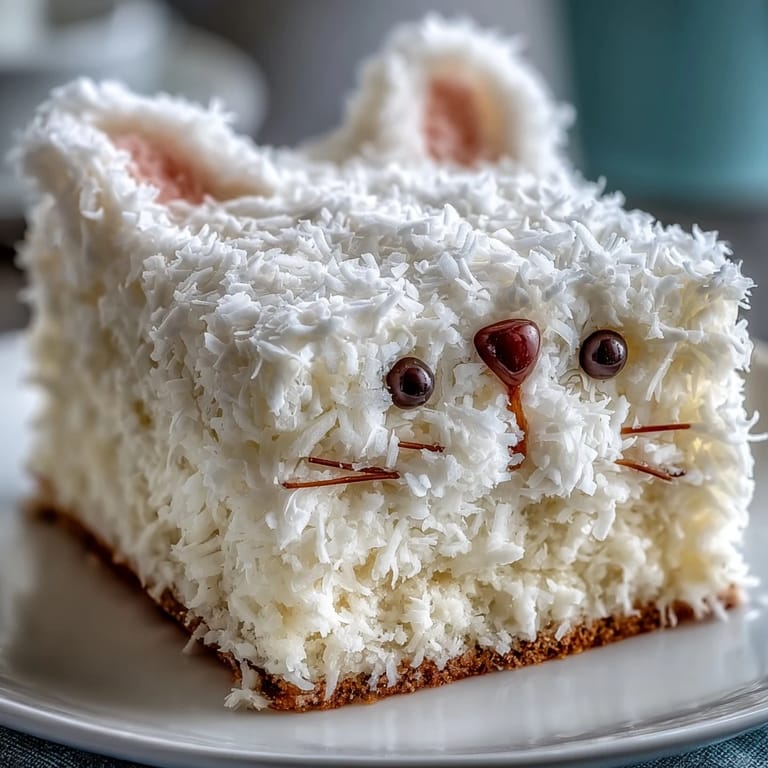
Why Coconut Makes This Cake Special
There's something about pressing sweetened shredded coconut into soft frosting that transforms a regular birthday cake into something that looks almost alive, like you've created a fluffy bunny that's actually edible. The coconut catches light differently than smooth frosting would, giving the whole cake dimension and texture that makes it feel fancy without requiring fancy technique. If you toast the coconut lightly in a dry pan for two minutes before using it, you'll get a depth of flavor that makes people ask what's different about it.
Decorating Like You Actually Know What You're Doing
The truth is that bunny cakes never look perfectly symmetrical, and somehow that's exactly what makes them charming instead of intimidating. Kids especially love when things are a little wonky because it means the cake looks handmade and personal instead of sterile and store-bought. If you're nervous about the decorating, remember that every crooked whisker and slightly tilted eye adds character, and anyone who knows you made it will see the love in those imperfections.
- Keep a small damp cloth nearby so you can wipe frosting off your fingers without leaving smudges all over the decorated parts.
- If a piece of licorice or marshmallow shifts after you place it, a small offset spatula can help you reposition it without ruining the surrounding frosting.
- Step back from the cake every few minutes to see how it looks from a distance, because tiny details read very differently from across the room.
 Pin It
 This Easter Bunny Cake has taught me that the best desserts are the ones that make people smile before they even taste them, and the memories built while making it together last far longer than the cake itself. Every spring when someone asks if I'll make it again, I know it's not really about the coconut frosting, it's about recreating those moments when the kitchen feels like the most important place in the world.