 Pin It
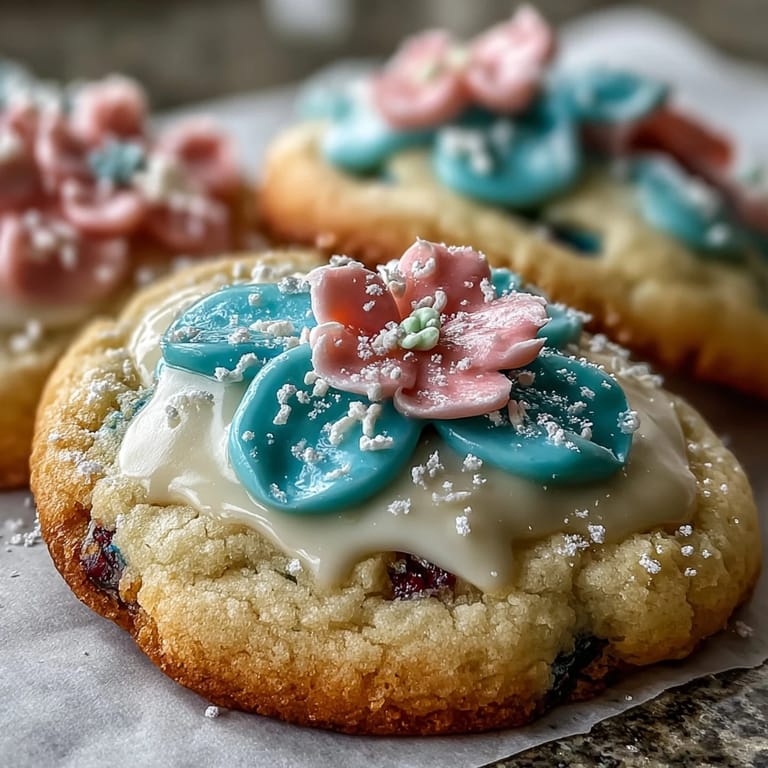
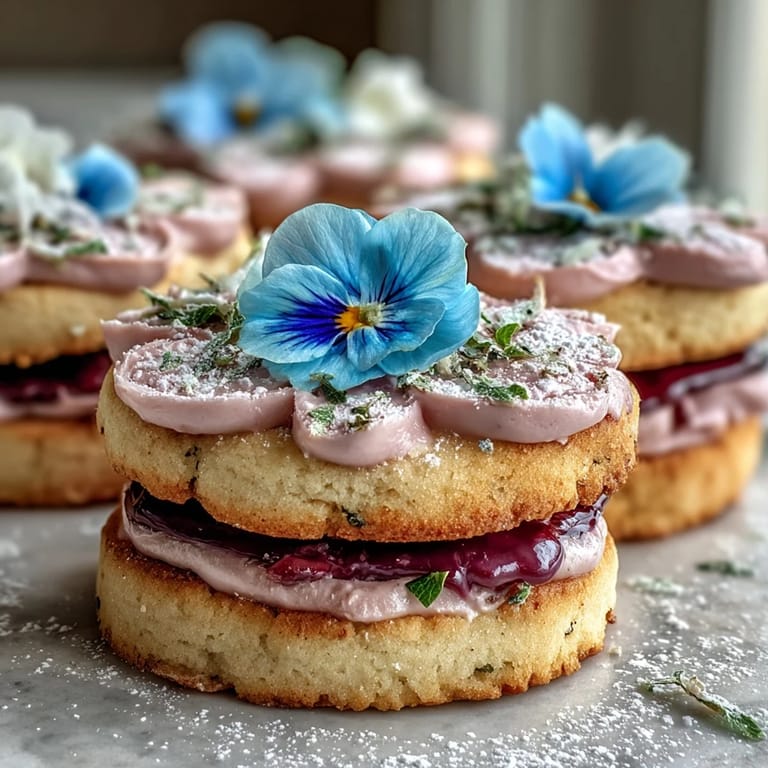
 My neighbor stopped by one April morning with her baby shower invitation, and I immediately pictured these delicate flower cookies dusted in pastel icing. There's something about the way soft butter and sugar cream together that feels like spring itself, and when those flowers come out of the oven with golden edges, you know you've created something that tastes as lovely as it looks. The pastel royal icing transforms simple cookies into tiny edible decorations that somehow make any celebration feel more intentional.
I'll never forget piping lavender icing onto my first batch while my daughter sat on a stool beside me, offering commentary on each flower like she was judging a beauty contest. She declared the slightly wonky ones "more artistic," which gave me permission to stop being so precious about perfection. That's when I realized these cookies aren't really about precision anyway—they're about gathering people around something beautiful and sharing a moment together.
Ingredients
- All-purpose flour: The foundation of these cookies, and sifting it with the baking powder ensures even distribution of leavening for a tender, delicate crumb.
- Baking powder: Just enough to give the cookies a gentle lift without making them cake-like; too much and they'll spread too thin.
- Salt: A quarter teaspoon might seem tiny, but it brightens the butter flavor and keeps the sweetness from becoming cloying.
- Unsalted butter, softened: Room temperature is absolutely critical here—cold butter won't cream properly with the sugar, and you'll end up with dense cookies instead of tender ones.
- Granulated sugar: This is what creates that light, fluffy texture when beaten with the butter, so don't skip the creaming step.
- Egg: One large egg binds everything together and adds richness; make sure it's at room temperature for smooth incorporation.
- Pure vanilla extract: The real thing makes all the difference in the flavor depth, so splurge here if you can.
- Powdered sugar, sifted: Sifting removes lumps that would otherwise create a grainy, uneven icing texture.
- Meringue powder: This is what sets the icing hard and glossy; it contains dried egg white and stabilizers that create that classic royal icing finish.
- Water: Add it gradually because the icing's consistency matters—too thick and you can't spread it, too thin and it runs off the cookies.
- Pastel food coloring gels: Gel colors are more concentrated than liquid, so they won't thin out your icing the way liquid food coloring would.
Tired of Takeout? 🥡
Get 10 meals you can make faster than delivery arrives. Seriously.
One email. No spam. Unsubscribe anytime.
Instructions
- Mix your dry ingredients:
- Whisk flour, baking powder, and salt together in a medium bowl and set it aside—this prevents lumps from forming later when you combine everything.
- Cream butter and sugar:
- Beat them together for a full 2 to 3 minutes until the mixture looks pale and fluffy; this is where you're incorporating air that makes the cookies tender. If it's still yellow and dense after a minute, give it more time.
- Add egg and vanilla:
- Beat these in until the mixture is smooth and well combined; don't worry if it looks slightly curdled at first, it will come together.
- Bring the dough together:
- Add the dry ingredients gradually and mix just until you don't see any white streaks of flour—overmixing develops gluten and toughens the cookies. A few lumps are okay and will smooth out during rolling.
- Chill the dough:
- Divide it into two discs, wrap them in plastic, and refrigerate for a full hour so the butter firms up and the flour fully hydrates. This prevents excessive spreading in the oven.
- Prepare for baking:
- Preheat your oven to 350°F and line two baking sheets with parchment paper—this prevents sticking and promotes even browning on the bottoms.
- Roll and cut:
- Work with one disc at a time on a lightly floured surface, rolling to a quarter-inch thickness; this thickness is key because thinner cookies burn easily and thicker ones stay too soft. You should be able to see light through the dough.
- Shape the cookies:
- Use your flower cutter and place cookies an inch apart on the sheets; gather scraps and gently re-roll them, though the second generation of cookies will be slightly less tender than the first.
- Bake to golden edges:
- Watch for the moment when just the tips of the petals turn golden—this takes about 10 to 12 minutes depending on your oven. The centers should still look pale and soft.
- Cool properly:
- Leave cookies on the baking sheet for 5 minutes so they can firm up slightly, then transfer them to a wire rack to cool completely; this two-stage cooling prevents breaking and keeps them crispy rather than chewy.
- Make the royal icing:
- Combine sifted powdered sugar and meringue powder, then add water one tablespoon at a time while mixing, stopping when the icing reaches a spreadable but thick consistency. It should fall slowly from a spoon.
- Tint with pastels:
- Divide the icing into small bowls and add just a tiny amount of gel coloring to each, mixing well; pastel colors require restraint, so start with less than you think you need.
- Ice and decorate:
- Spread or pipe the icing onto completely cooled cookies and let it sit uncovered for several hours until it hardens and becomes glossy. This is when they truly look magical.
 Pin It
 My mother-in-law saved some of these cookies in a vintage tin after the baby shower and texted me a photo a week later—they were still crisp and beautiful, scattered among tissue paper like tiny edible treasures. It struck me that these cookies had become memories, passed around to friends and coworkers, and somehow made the occasion feel more special than store-bought alternatives ever could.
The Magic of Pastel Icing
Royal icing looks intimidating, but it's actually one of the most forgiving glazes you can make. The meringue powder is what sets it apart from regular icing—it dries hard and glossy, which is essential if you want these cookies to look like little edible works of art. I've found that investing in quality gel food coloring makes a real difference because liquid coloring thins out the icing and muddies the colors.
Flavor Variations Worth Trying
The base dough is actually a blank canvas for subtle flavor shifts. A drop of almond extract added to the dough creates a delicate, sophisticated flavor that pairs beautifully with the pastel aesthetic, and it's not so strong that it overwhelms. You could also experiment with lemon zest folded into the dough, or a tiny pinch of cardamom if you want something more unexpected and grown-up.
Storage and Serving Ideas
These cookies are incredibly practical for advance preparation, which is probably why I keep making them for last-minute gatherings. Once the icing has fully hardened—usually after 4 to 6 hours—you can stack them between parchment in an airtight container where they'll keep for up to five days. They pair beautifully with herbal teas or sparkling lemonade, and there's something nostalgic about serving them on vintage plates or in small paper cups.
- Pack them in clear treat bags tied with ribbon for easy gifting that feels personal without requiring hours of wrapping.
- Customize the icing colors to match your event's theme, from soft pastels for spring to deeper jewel tones for fall celebrations.
- Make the dough a day or two ahead and freeze it in discs so you can bake fresh cookies whenever you need them.
 Pin It
 These flower cookies remind me that simple things, when made with care and a little thought, become the moments people remember. There's real joy in baking something delicate and beautiful, especially when it's shared with people you care about.
Recipe FAQs
- → How do I achieve soft pastel colors in the icing?
Use gel food coloring sparingly, adding a drop at a time to powdered sugar and meringue powder mixture until desired pastel shades form.
- → What is the best way to roll out the dough for even cookies?
Chill the dough for an hour, then roll it on a lightly floured surface to about 1/4 inch thickness for uniform baking.
- → Can I substitute any ingredients for dietary preferences?
Yes, plant-based butter works well for dairy-free versions, maintaining texture and flavor.
- → How long should I let the icing set before serving?
Allow the royal icing to fully harden, which typically takes several hours at room temperature to prevent smudging.
- → What tools help achieve detailed flower decorations?
Using piping bags fitted with small round tips allows precise and delicate designs on the cookie surfaces.